Exclusive DJ Mixes and 100% Ad-Free Music!
DIY Home Recording Studio: Set Up and Essentials
15 October 2024
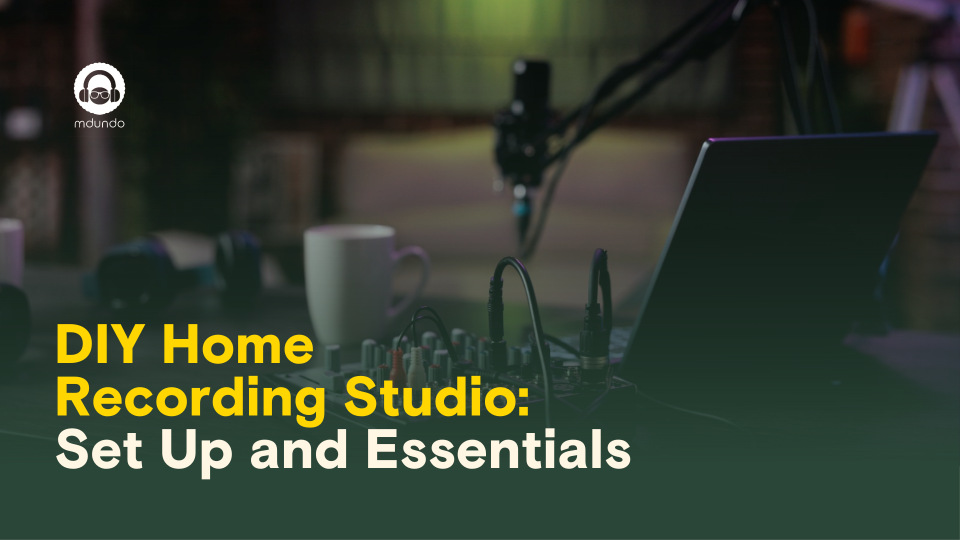
[Image Source:Instagram]
Writer: Great Ekama
Download New Dj Mixes on Mdundo.com
We see you wrestling with the daunting task of setting up your own home recording studio. It’s a scene all too familiar: cables tangled, equipment scattered, and a sense of frustration in the air. At Mdundo, we understand these challenges, and this guide is here to streamline your setup; we’ve thought it through so you don’t have to. By breaking down the essentials and providing practical solutions, we’ll help you create a space that inspires creativity and delivers high-quality recordings—without the headache!
Creating your own home recording studio can be both an exciting and rewarding endeavor. Whether you're a budding musician, a podcaster, or simply someone who loves to experiment with sound, the right setup can make all the difference. Here’s our guide that balances perplexity and burstiness to help you get started.
1. Choose the Right Space
Finding the perfect location for your studio is crucial. Look for a quiet room with minimal distractions. Consider the acoustics: hard surfaces reflect sound, while soft furnishings absorb it. Think about adding rugs, curtains, or even foam panels to help control the sound.
2. Essential Gear
Now, let's dive into the equipment you'll need. Here’s a breakdown:
- Computer: A reliable computer is your central hub. It should have enough processing power to handle your recording software and plugins.
- Digital Audio Workstation (DAW): This software is where the magic happens. Options like Ableton Live, Logic Pro, or Pro Tools provide the tools you need for recording, mixing, and editing.
- Audio Interface: This device converts your analog signals into digital data. Look for one with good preamps and multiple inputs if you plan to record several instruments simultaneously.
- Microphone: Choose a quality microphone that suits your needs. A condenser mic is excellent for vocals, while dynamic mics work well for instruments.
- Headphones: Invest in a pair of closed-back headphones for accurate monitoring without bleed.
- Studio Monitors: Unlike regular speakers, studio monitors provide a flat response, giving you a true representation of your sound.
3. Cables and Accessories
Don’t overlook the small stuff! Quality cables can make a significant difference. Get balanced XLR cables for your mics and TRS cables for connecting your audio interface to your monitors. A mic stand and pop filter are also essential for clean recordings.
4. Sound Treatment
To enhance your recording quality, focus on sound treatment. Bass traps, diffusers, and absorption panels can help control the acoustics of your space. You don’t need to spend a fortune—DIY options abound! For example, creating your own panels using rock wool and fabric can be both effective and budget-friendly.
5. Setup and Organization
Organize your workspace for efficiency. Keep your gear accessible but tidy. A cluttered space can stifle creativity. Consider ergonomic placements for your computer, keyboard, and mixer to ensure comfort during long sessions.
6. Practice and Experiment
Finally, embrace the learning curve. Experiment with different mic placements, effects, and mixing techniques. Recording is as much about creativity as it is about technology. Don't be afraid to make mistakes—each one is a stepping stone to improvement.
Conclusion
Setting up a DIY home recording studio is an achievable goal with the right planning and equipment. By focusing on the essentials and creating a comfortable, acoustically-friendly environment, you'll be well on your way to producing quality recordings.
And once you’ve captured your sound, don’t forget to share it! At Mdundo, we make it easy for you to upload your music or podcast and reach a wider audience. Remember, the journey is as important as the destination—enjoy the process, and let Mdundo be your partner in sharing your creativity with the world!


Leave your comment